How to Organize your Desktop—Aesthetically!

There's a really important facet of productivity that often doesn't get the credit it deserves: Aesthetics. A lot of people tend to shrug it off as unimportant, but it can often make or break a system.
Aesthetics can range from beautiful, hand-painted spreads in a bullet journal, to just adding custom icons to your phone—But the important factor is, it makes your productivity experience joyful, rather than a chore.
You may have experienced something similar, scrolling through pages of aesthetic Notion dashboards, fancy phone widgets, and expensive stationary. But what you may not have known, is that there's a really easy way to start: With your desktop.
Having a coherent desktop is probably one of the most important aspects of organizing your computer. I can't tell you how frustrated I see when I see a desktop covered in random files, shortcuts, and folders.
In this article, I'll be showing you how to go from this:
To this:
Figure out what you want to use your desktop for.
Generally, there are three ways people use their desktop.
To quickly access their most used apps. This is how I personally use my desktop, since my needs tend to vary often.
As a to-do list. Some people like downloading their files directly onto their desktop, and then reviewing them immediately.
As storage. I do not recommend doing this, but some people use their desktop to organize all their files. I personally would suggest using folders if you plan on doing this, as sometimes Windows updates or driver installations will cause all the positions on your screen to reset.
Once you've determined how you want to use your desktop, it's time to...
Pick a wallpaper.
You might be saying, "The default works just fine for me." And it's great if it does, but I'd recommend using a wallpaper that's more conducive to organization, especially if your desktop usage is either #2 or #3.
There are plenty of organizational desktop wallpapers available online. If you're looking for free wallpapers, freepik.com is a good place to start. Searching for "Desktop Organizer" has some pretty nice results.
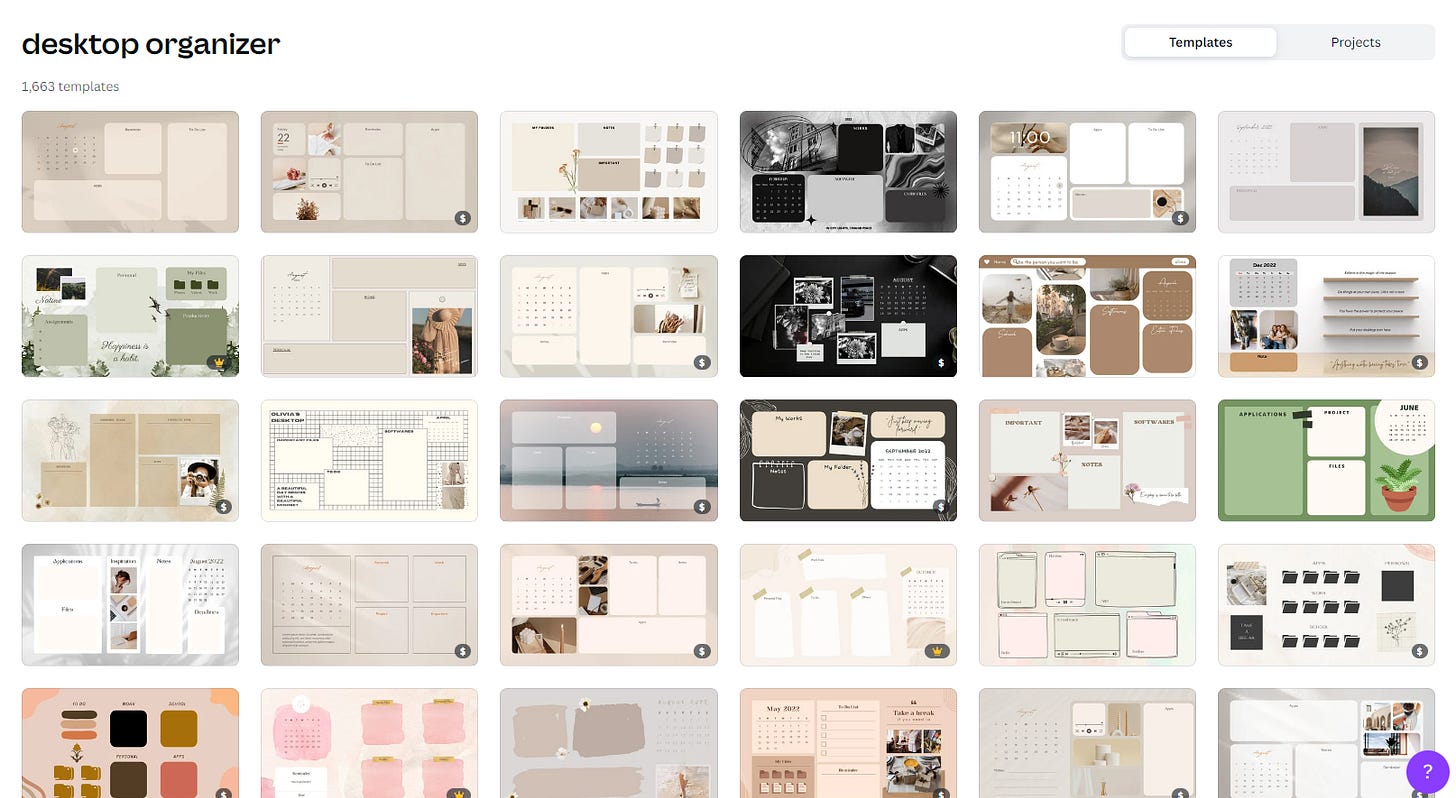
If you're someone who'd doesn't like using downloadable ones and prefers to customize your own, Canva has plenty of templates for desktop organizers and is easy to use.
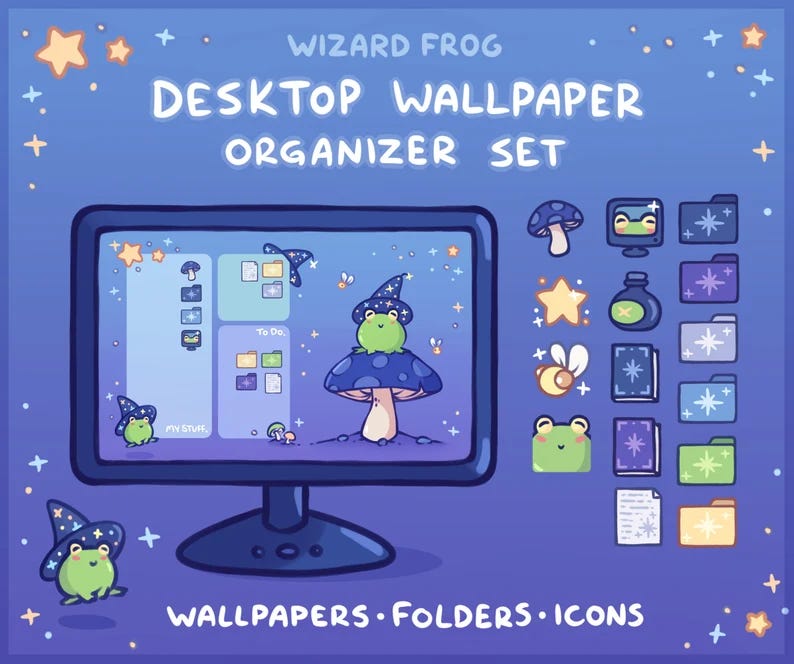
Finally, if you're willing to spend money, there are plenty of independent sellers on Etsy making their own desktop organizers. These often come with icons as well, in case you want to match.

Once you've selected, created, or purchased a Desktop Organizer, set it as your desktop background. And then it's time to...
Delete everything you don't need.
This can be pretty daunting, especially if it's your first time doing it. Don't worry—Once this is done, re-organizing your desktop based on your changing needs is pretty easy. But first, block off a time between 1 to 2 hours, depending how crowded your desktop is.
Start by deleting all the program shortcuts you don't use often. If you don't use them more than once a day, delete it—You'll always be able to access it from your search anyway. If you realize that a program is something you don't need anymore, it might be best to uninstall it completely and reduce the amount of bloat on your system while you're at it.
Next, go through all the files scattered around. Delete all outdated downloads, duplicates, web pages (life hack: you don't need to download web pages to your desktop when you can use bookmarks), and anything you just don't need.
Finally, go through your folders. Delete all the ones that are empty, contain just one file (make sure to move any important files out of the folder first!) or are just remains from unzipping a program.
Once that's done, it's time to begin sorting what's left.
Organize the rest.
Now that you only have what you need, begin organizing the remaining items. Begin renaming all non-descript files and folders to something that clearly conveys its purpose. You may also want to rename some program shortcuts, in case there's a better name for them.
Next, look at what you have. See what main groups they fall under. For example, school assignments can be grouped into "History" and "Math" folders. Work documents can be grouped by deadlines. Create folders and sub-folders for these groups. Try not to have more than 5-10 top-level files & folders on your desktop.
If you have an organizer wallpaper, drag the files and folders to the right spot. If you use Windows, you can also customize the size of the icons, and stop them from "snapping" into a place you don't want them to go.
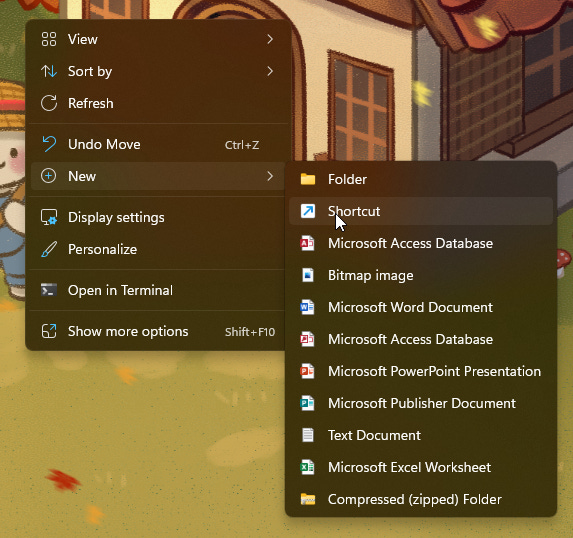
Now that your desktop is significantly cleaned up, you might actually want to add a couple shortcuts. For example, if the reason you download all your files onto the desktop is because you don't want to keep opening the Downloads folder, you can add a shortcut to the Downloads folder onto your desktop.
Optional: Customize your icons
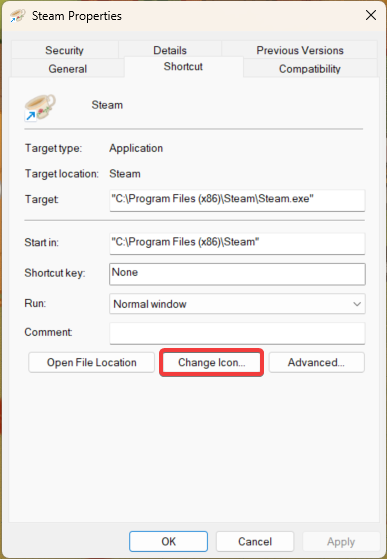
Now that you've got everything all organized, you may want to take your aesthetic game one step further with some matching icons! If you grabbed your organizer set from Etsy, you should already have a document with instructions and files inside. If not, you can find folder icons on sites like DeviantArt and Google, although do be careful when downloading anything off them as they may not be the safest.

And that's a wrap!
Hopefully this tutorial gave you some insight on how to start organizing your desktop. Of course, if all that was too much work, there's always another solution... just hide all your icons.


